Every year, we put up our christmas tree and decorate it. Further, we put some stuff toys and gifts under the tree. Finally, Daddy helps put up the lights, and that’s all . The area around looks a little blank. So this year, I decided to do a little craft and make a Christmas Bunting with the help from my little one, and hang it around the area. This would add a personal touch to our decorations.
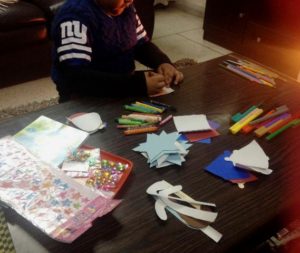
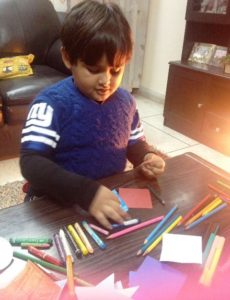
An inviting setup is a must for getting the kids excited and perform their best. So, I laid out all the stuff required for the activity on the table. We both sat down after supper and decorated the ornaments and trees.

Here are the details of what is required and how we went about making the Christmas bunting.
Materials Required:
- Various colored white chart paper
- Pencil
- Eraser
- Scissors
- Glue/ Fevicol
- Stapler
- Ribbon/ String
Materials for decorating the ornaments and trees:
- Mini stickers in various shapes – star, heart, crystals, etc.
- Crayons /Colored Pencils / Sketch pens
Procedure:
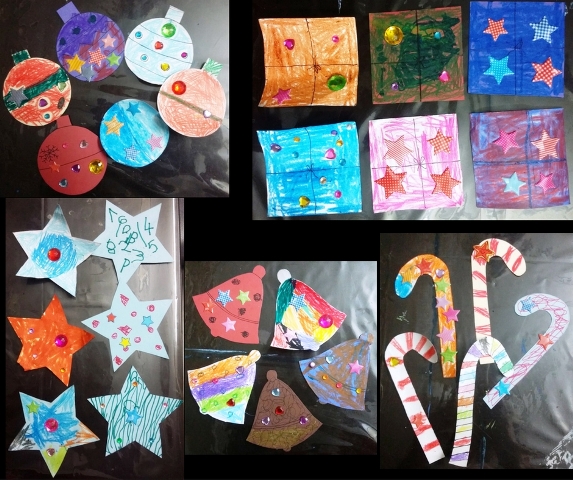
- Firstly, cut out the shapes of various ornaments – bells, gifts, balls, candy canes, small Christmas tree, stars etc. I cut out 6 pieces of each ornament and trees.
- Now, let the child decorate the cut outs as she/ he wants to. You can help them and guide them. But I prefer that the kids take their own decisions.
This is how our Ornaments looked after being decorated.
3. Once the cut outs have been decorated, take a ribbon and with the help of a stapler, stick them on it.
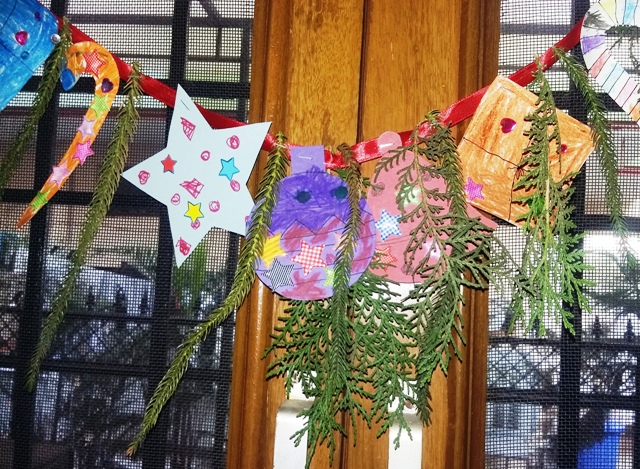
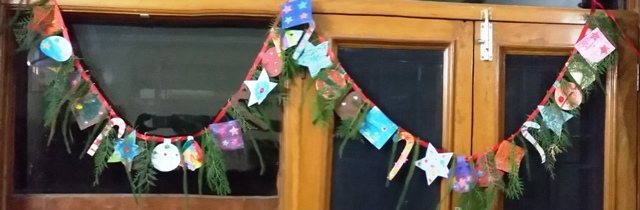
4. Somehow, it looked incomplete. So, I got some leaves of a pine tree, (and other leaves) and stuck them in between all the cutouts. I again used a stapler for this.

5. And finally, our Christmas Bunting is ready. You may make it vertically or horizontally.
We had loads of fun doing this activity. Hope the same for you too.
Do share the pics of your creations in the comments section below for others to appreciate and get inspired with.
Merry Christmas !
category:crafts, Featured, Kids activities
0
