My little one is a little grown up now, and can do some craft and painting. So, I decided to make a small Ravana idol at home with his help. Here I included 2 activities for my son – painting and then sticking all the parts together to form the Ravana.
Materials Required:
- White Chart Paper
- Cardboard / hardboard pieces / Pizza Box
- Pencil
- Eraser
- Scale
- Scissors
- Fevicol/ craft glue
- Paints and Paintbrushes
- Stapler
- Cellotape
How we made it:
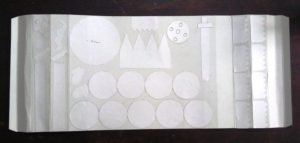
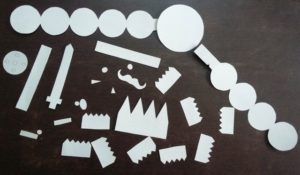
1. First I decided what all parts can my kid stick easily – faces, crown, face features, weapons, arms etc. Then I drew all the shapes on a chart paper, and cut them out.
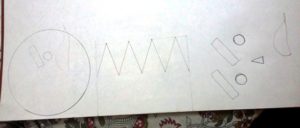
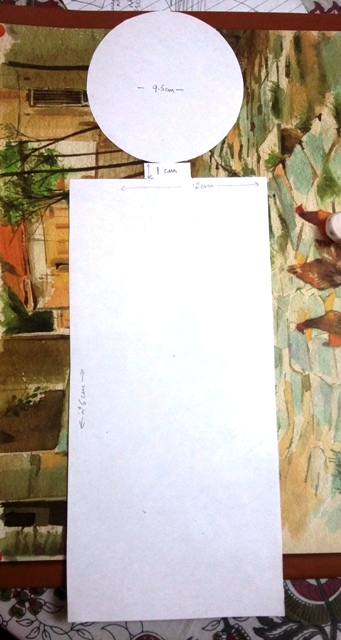
2. I drew all the shapes, with estimate, and took a while before I could figure out the right sizes. Here I have mentioned in detail all the measurements.
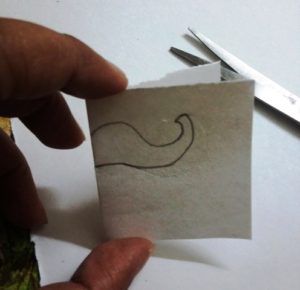
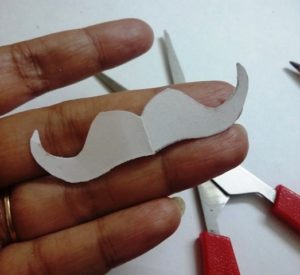
3. This is how we made the mustache – Fold a smal piece of paper, draw the shape and cut it out, leaving the place from where it is folded. Then open it, your mustache is done !
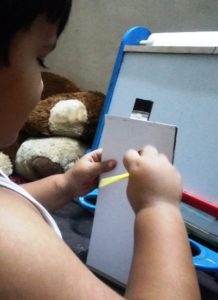
4. To make the body and stand of the Ravana, I cut the front and back of the body from a Pizza Box as shown below. I cut an extra, elongated piece at the bottom.

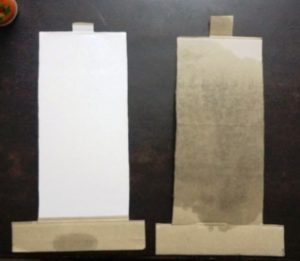
The extra piece of front and back is folded and joined together with glue. Further, Take a rectangular piece of cardboard and stick the joined base on it to form a base to support the body to stand.
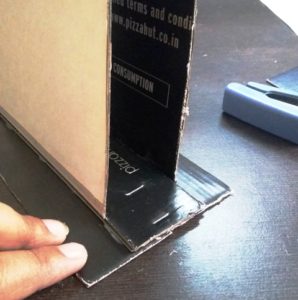
Then join the necks together with glue to form a stand. You may even staple it to make it sturdy.
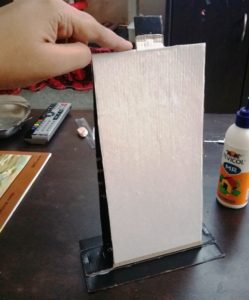
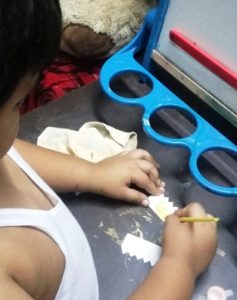
5. Now, place all the other pieces of the body on a piece of cardboard and stick them with fevicol/ glue on it. Let dry for 10 – 15 minutes, then cut them out.
If I would have found a white piece of hard board earlier, probably it would have saved one step. Instead of sticking the chart paper cutouts, I would have drawn all the shapes directly on them and cut them out.
6. Now it is time to Paint !! Both, my son and I, sat down and painted all the pieces. In fact, he painted and I gave each piece a finishing touch.

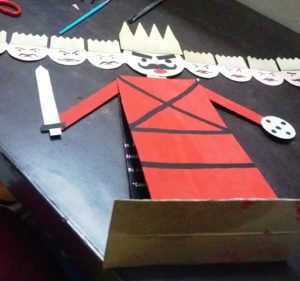
7. Here are the final painted pieces:
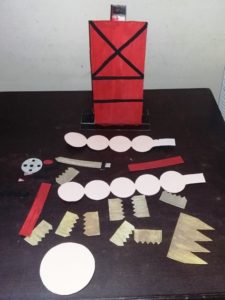
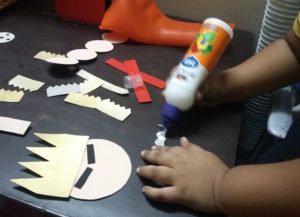
8. And finally, its time to bring all the pieces together. So I helped my kiddo to stick the pieces on the face. He loved putting on the glue himself (it was too much sometime and I had to reduce the amount).
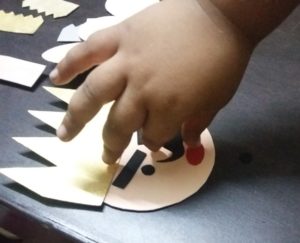
Once we were done putting all the pieces together, I drew the face features of the rest of the 9 faces of Ravana with some black paint. And the Ravana was ready !!
9. But the neck was a little wavy and needed some support. So I added a double piece of cardboard at the back of the neck for support, as shown in the pic.
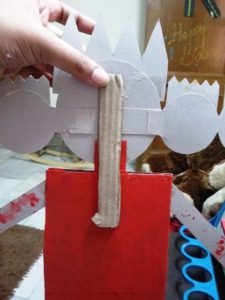
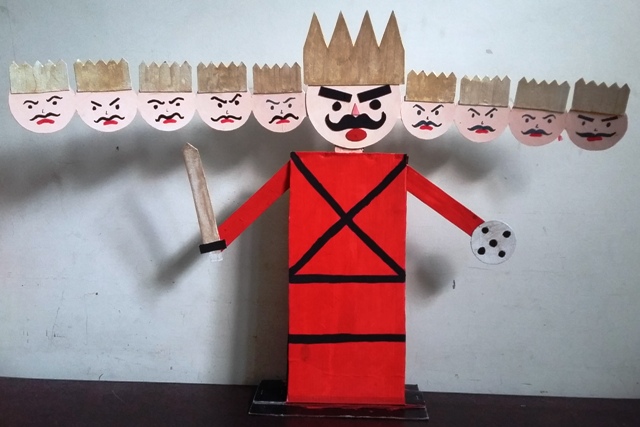
Finally, here is our Ravana !!
category:crafts, Featured, Kids activities
0
